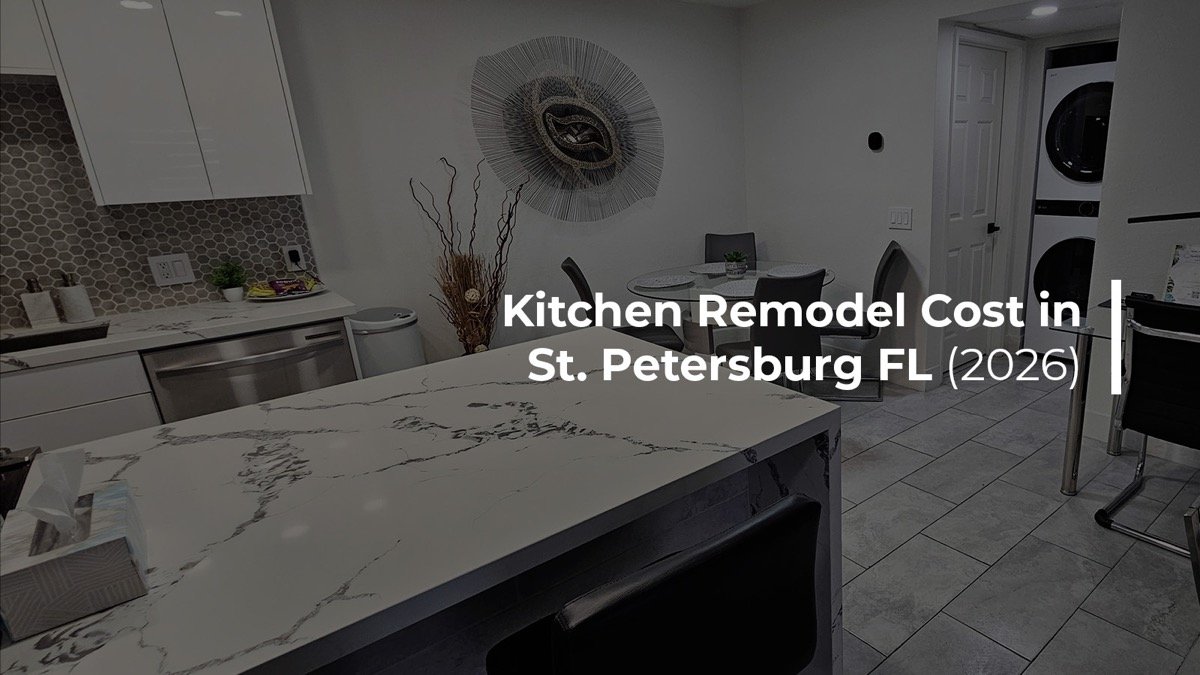

Why the Kitchen Island Matters More Than It Used To
In most Tampa Bay homes we work in, the island is where the kitchen actually happens. It is where groceries land, where homework gets done, where guests stand with a drink while someone finishes cooking, and where the family ends up on a Tuesday night even though there is a perfectly good dining table twelve feet away.
That is a lot of jobs for one piece of cabinetry. A well-planned island handles food prep, casual dining, entertaining, storage, a work-from-home perch, and the visual centerpiece of an open-concept room usually all at once. A poorly planned one does none of them well and makes the kitchen harder to move through than it was before.
So the useful kitchen island ideas are not really about style. They are about matching the island to your room’s dimensions, your traffic patterns, where your appliances sit, and how your household actually uses the kitchen. The prettiest island in a magazine will frustrate you daily if it blocks the path from the range to the sink.
What follows is twelve island concepts, then practical guidance on sizing, seating, storage, countertops, color, and lighting written from a design-build perspective rather than a styling one.
12 Kitchen Island Ideas Worth Considering
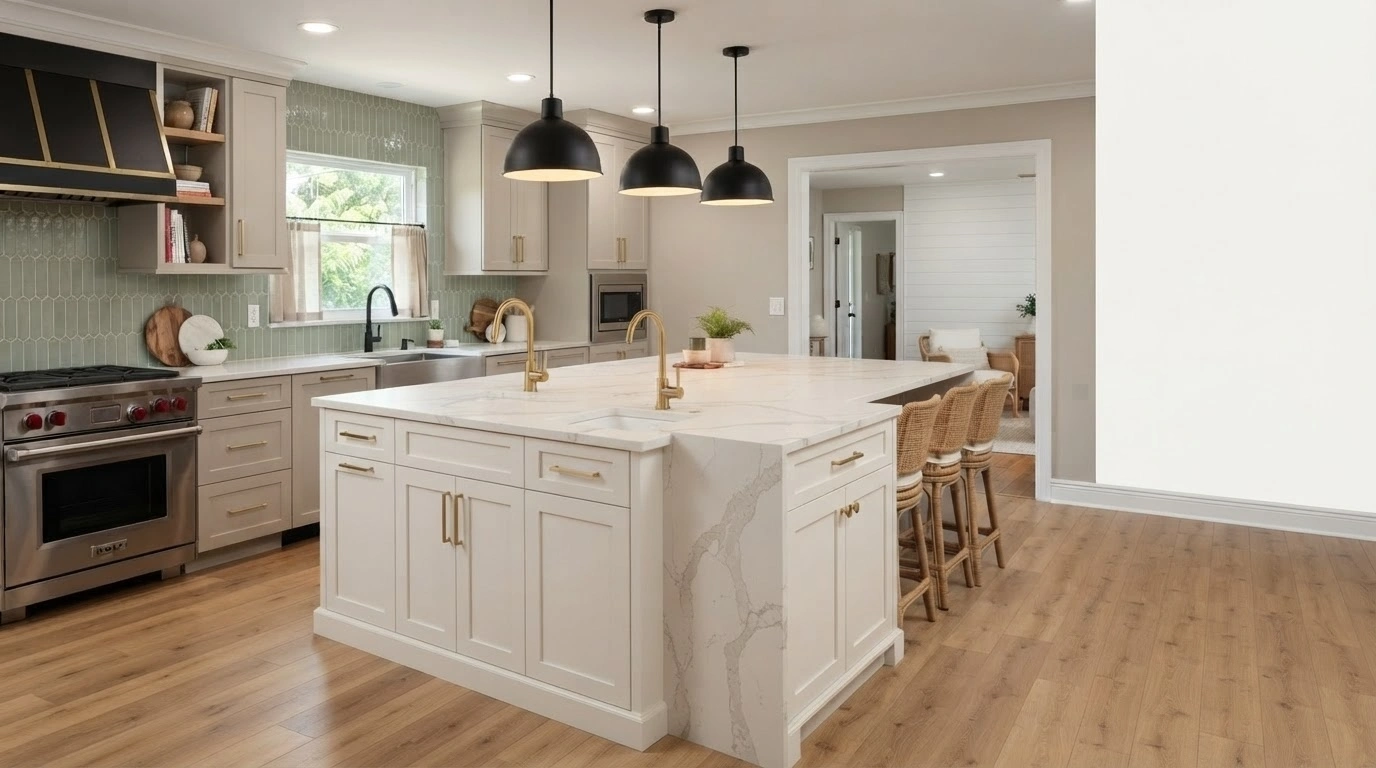
Each idea below includes what it is, why it works, who it suits, a Tampa Bay-specific consideration, and one practical tip from the planning side of the job.
1. The Waterfall-Edge Island
The countertop runs over the end of the island and continues vertically to the floor, so the stone appears to fold rather than stop. On a slab with strong veining, a good fabricator will miter the corner and continue the pattern down the side.
Why it works: It turns the island into a sculptural object rather than a box with a top on it, and it protects the cabinet end from the scuffs and chair damage that exposed panels collect.
Best for: Open-concept kitchens where the island end is visible from the living space, and homeowners who want one clear focal point.
Tampa Bay consideration: In open Florida floor plans, the island end is often the first thing you see from the front door. That visibility is exactly what a waterfall edge is for.
Designer tip: Budget for it deliberately. A waterfall consumes significantly more slab and requires precise miter work, so it is a meaningful line item rather than a small upgrade.
2. The Two-Tone Island
The island cabinetry is finished in a different color from the perimeter - commonly a deeper tone such as navy, charcoal, forest, or a natural wood against lighter perimeter cabinets.
Why it works: It gives the room a center of gravity and lets you introduce color in a contained way. If you tire of it in eight years, you are refinishing one cabinet run rather than the whole kitchen.
Best for: Homeowners who want the kitchen to feel designed rather than builder-supplied, without committing to a bold kitchen overall.
Tampa Bay consideration: Florida light is bright and unforgiving. A color that reads as a soft mid-tone in a showroom can go flat or chalky under strong natural light, so judge samples in the actual room.
Designer tip: Look at large samples in your kitchen at three different times of day before committing. Small chips are misleading at this scale.
3. The Island Built Around Seating
Seating is treated as a primary function rather than an afterthought: a genuine overhang on one side, stools that tuck fully underneath, and no cabinet fronts or dishwasher doors opening into the seated zone.
Why it works: Most islands technically have seating. Fewer have seating people willingly use, and the difference is almost always legroom and knee clearance rather than stool quality.
Best for: Families who eat casually, households that entertain, and anyone whose dining table currently goes unused.
Tampa Bay consideration: Indoor-outdoor entertaining is standard here, and the island frequently becomes the staging point between the kitchen and the lanai. Seating on the side away from that traffic path keeps it usable.
Designer tip: Sit at a sample setup before finalizing the overhang. Comfortable seating depth is something you feel rather than calculate, and it is expensive to change once the stone is cut.
4. The Compact Island for Small Kitchens
A narrower island - sometimes little more than a run of base cabinets with a top - scaled so that walkways stay clear on the sides that matter.
Why it works: A small island that you can walk around beats a generous one you have to squeeze past. Workflow is the thing being protected, not square inches of countertop.
Best for: Bungalows, condos, townhomes, and any kitchen where a full-size island would create a pinch point.
Tampa Bay consideration: Older Tampa Bay homes - the 1920s bungalows, the 1950s block ranches - often have kitchens that were never designed for an island. A compact one is frequently the honest answer.
Designer tip: Before ruling an island out entirely, tape the footprint on your floor and live with it for a week. Homeowners are often surprised in both directions.
5. The Storage-First Island
The island is planned from the inside out: deep drawers instead of base cabinets with shelves, pull-out waste and recycling, dividers for trays and baking sheets, and drawer inserts sized to what you actually own.
Why it works: Deep drawers put the contents in front of you instead of requiring you to kneel and reach into the back of a dark cabinet. It is the single upgrade homeowners mention most often afterwards.
Best for: Kitchens short on storage, serious cooks, and anyone whose counters stay cluttered because there is nowhere sensible to put things.
Tampa Bay consideration: Many existing-home kitchens here have limited pantry space. The island is often the most realistic place to recover it without moving walls.
Designer tip: Inventory what will actually live in the island before the cabinet drawings are finalized. Retrofitting inserts later costs more and fits worse.
6. The Island With a Built-In Microwave
The microwave is housed in the island - typically as a drawer unit or in a dedicated cabinet on the seating side - rather than over the range or eating wall cabinet space.
Why it works: It frees the wall above the range for proper ventilation or a design feature, and it puts the microwave at a height that works for children and shorter adults.
Best for: Households with kids, kitchens with limited wall cabinetry, and anyone replacing an over-range microwave with a real hood.
Tampa Bay consideration: Swapping an over-range microwave for a vented hood is a common improvement in Florida kitchens, and the island is usually where the microwave goes next.
Designer tip: Plan the electrical for it at design stage. Adding a dedicated circuit to an island after the floor is closed up is disruptive and avoidable.
7. The Prep Island for Serious Cooks
A working island: an uninterrupted run of counter for actual prep, often a secondary prep sink, and storage for the knives, boards, and bowls used daily.
Why it works: It creates a second work zone so two people can cook without negotiating for space, and it keeps the primary sink free for cleanup.
Best for: Households where someone genuinely cooks, and kitchens where the main sink is a bottleneck.
Tampa Bay consideration: A prep sink means plumbing under the slab or through the floor structure. That is a scope decision, not a finish decision, and it is worth settling before design gets far.
Designer tip: Protect one continuous stretch of counter and refuse to fill it. Prep space disappears fast once appliances and accessories start claiming it.
8. The Entertaining Island With Beverage Storage
A beverage refrigerator, wine storage, or a small bar zone is built into the island - positioned on the guest side so people can help themselves without walking into the cooking area.
Why it works: It solves the specific problem of guests clustering exactly where the cook needs to be, by giving them a legitimate reason to stand somewhere else.
Best for: Frequent hosts, open-concept layouts, and homeowners who entertain more than they cook.
Tampa Bay consideration: Entertaining runs year-round here and often moves between the kitchen and outdoor space. Placing beverage storage on the lanai side of the island shortens the trip considerably.
Designer tip: Undercounter refrigeration needs ventilation clearance and a dedicated circuit. Confirm the specification for your chosen unit before the cabinet is built around it.
9. The Statement Countertop Island
The island carries a dramatic slab - heavy veining, a bold natural stone, or a large-format porcelain - while the perimeter stays quiet in a simpler material.
Why it works: It concentrates the budget where it is most visible. One remarkable slab on the island reads as more considered than the same money spread thinly across every surface.
Best for: Homeowners who want one high-impact material moment, and open-concept rooms where the island is on permanent display.
Tampa Bay consideration: Slab selection is worth doing in person. Two slabs of the same named material can look markedly different, and you are choosing the actual piece, not a category.
Designer tip: Ask to see the specific slab and discuss where the veining will fall. On a dramatic stone, layout is a design decision that a fabricator should not be making alone.
10. The Transitional Island
A middle path: shaker or lightly detailed doors, restrained hardware, and a countertop that is interesting without being loud. Neither strictly traditional nor sharply contemporary.
Why it works: It suits a wide range of existing architecture and tends to age slowly, which matters if you are not planning to remodel again in six years.
Best for: Homeowners who want longevity over trend, and homes where a strongly contemporary kitchen would fight the rest of the house.
Tampa Bay consideration: Tampa Bay housing stock is genuinely mixed - bungalows, mid-century ranches, Mediterranean revival, and newer suburban builds sitting within blocks of each other. Transitional design bridges more of that range than either extreme.
Designer tip: If resale is on your horizon, this is usually the safer direction. Distinctive kitchens are wonderful to live in and narrower to sell.
11. The Coastal-Inspired Island
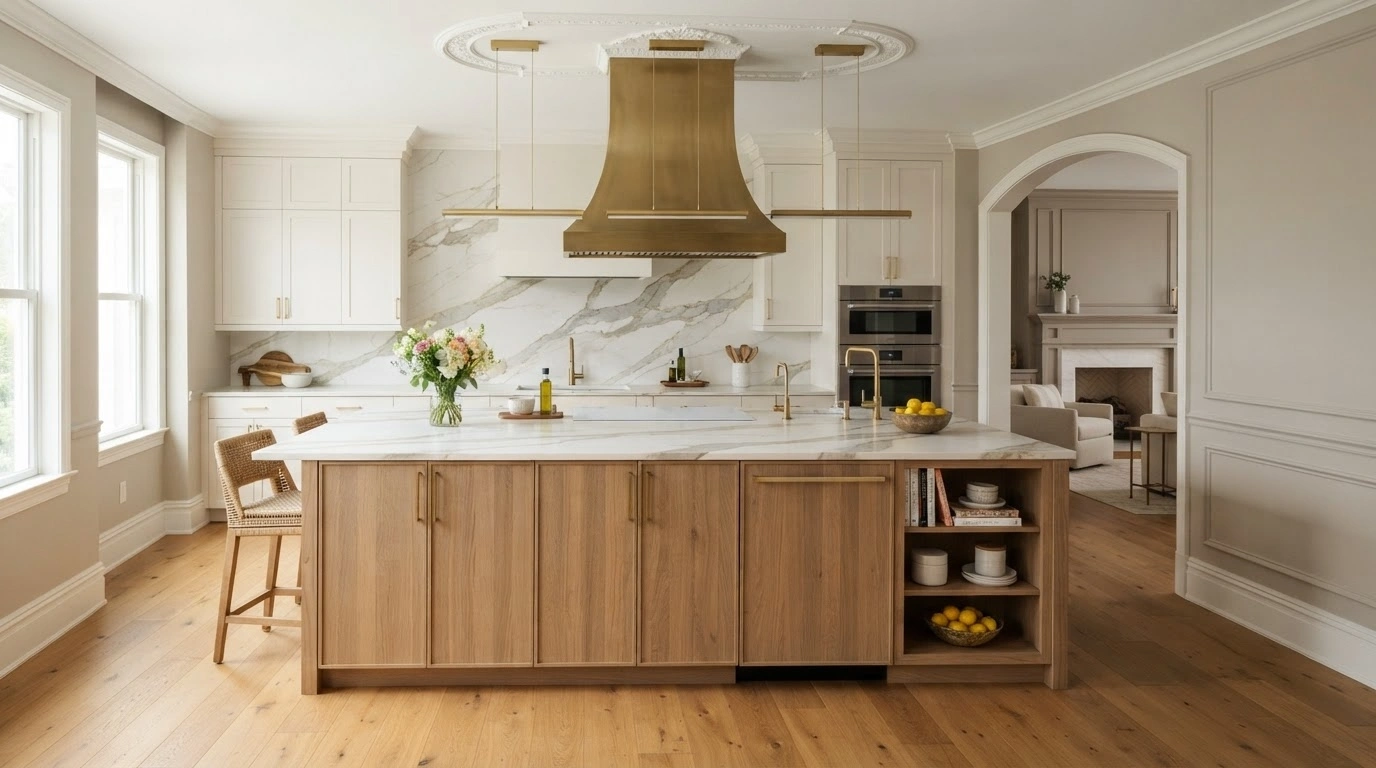
Light and airy: white oak or a pale painted finish, soft whites and warm greys, natural textures, and a countertop with gentle rather than dramatic movement.
Why it works: It works with Florida light instead of against it, and it keeps a kitchen feeling open even when the room itself is not especially large.
Best for: Waterfront and near-water homes, and anyone who wants the kitchen to feel relaxed rather than formal.
Tampa Bay consideration: Humidity is a real material consideration here. Wood finishes and cabinet construction should be specified with that in mind, and manufacturer guidance on suitable environments is worth reading rather than assuming.
Designer tip: Coastal does not have to mean beach-themed. The most durable version of this look comes from materials and light, not decorative motifs.
12. The Multi-Functional Family Island
Explicitly zoned: prep at one end, seating at the other, storage allocated by who uses it, charging outlets planned in, and a surface that tolerates homework, crafts, and dinner in the same evening.
Why it works: It accepts what actually happens in a family kitchen instead of designing for an idealised version of it, so nothing has to be cleared away before the next activity.
Best for: Households with school-age children, and anyone who works from the kitchen during the day.
Tampa Bay consideration: In open Florida layouts the kitchen is rarely a separate room, so the island is genuinely visible from the living space all day. Planned storage keeps that view from becoming a permanent pile of school bags.
Designer tip: Decide where the outlets and charging points go early. Retrofitting power into a finished island is one of the most common regrets we hear about.
Kitchen Island Ideas by Kitchen Size
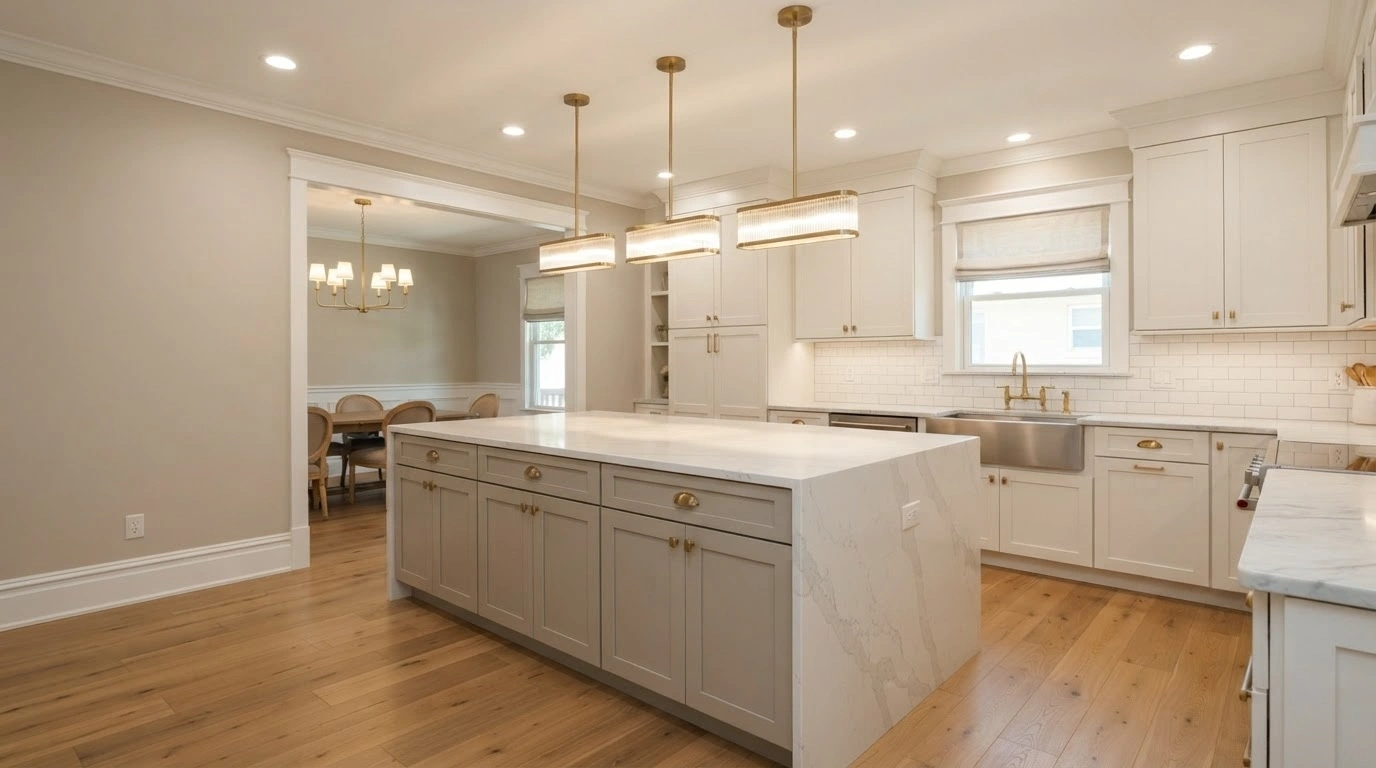
Before anything else: the right island size is set by the room, not by preference. Every layout has a point where the island stops adding function and starts subtracting it, and that point differs from kitchen to kitchen.
Small kitchens
- Narrow islands - a shallow run of base cabinets with a top, sized so the walkways stay comfortable.
- Peninsula alternatives - attaching to one run of cabinetry frees a walkway entirely and often delivers more usable counter than a freestanding island in the same room.
- Mobile islands - a rolling cart is a legitimate option when the room genuinely cannot take a fixed one, and it costs a fraction of a built-in.
- Compact seating - two stools on the short end rather than a row along the side.
- Storage optimization - in a small island, every drawer matters; plan the interior before the exterior.
- Clearance first - if appliance doors and the island fight each other, the island is too big regardless of how it looks on a plan.
Medium kitchens
- A standard island with seating for two to four on one side
- Meaningful additional prep space without crowding the main work triangle
- Room to integrate a dishwasher, microwave drawer, or beverage unit - though usually not all three
- A mix of deep drawers and dedicated waste storage
- Enough surface left over to actually cook on after the appliances are placed
Large kitchens
- Oversized islands that can carry a statement slab convincingly
- Double islands - one for prep and cooking, one for seating and serving, which resolves the tension between the two better than a single very large island does
- Seating for four to six, sometimes wrapping a corner
- Distinct work zones so more than one person can cook without collision
- Entertaining-focused features: bar zones, beverage storage, serving surfaces
You will find confident universal numbers for island size, walkway width, and seating overhang all over the internet. Treat them as starting points, not rules. The workable figures for your kitchen depend on the actual layout, appliance swings, door and drawer clearances, seating type, and applicable design and building requirements. A design professional should confirm them against your real room before cabinetry is ordered.
Kitchen Island Ideas With Seating
Seating is where good islands and disappointing islands most visibly diverge. The configuration matters as much as the number of seats.
- One-sided seating - the most common arrangement. Simple, keeps the opposite side free for work, and suits most rooms.
- End seating - two stools on the short end. Excellent in narrow kitchens where a full run of seating would obstruct a walkway.
- Wraparound seating - seats turning a corner. Sociable and generous, but it consumes floor space on two sides and needs a large room to work.
- Bar-height seating - a raised section, often on a second level. It hides the working surface from view, which some homeowners value highly and others find dated.
- Counter-height seating - a single-level top throughout. Currently the more common choice, cleaner visually, and better for prep because the whole surface stays usable.
From a remodeling perspective, four things determine whether seating gets used: legroom under the overhang, stool placement that lets people get in and out without moving the next stool, traffic flow so that seated people are not in the main path, and honest seat counting - an island that fits four stools side by side may only comfortably seat three.
One issue we often see when planning an island is seating specified on the same side as the dishwasher. Someone is always in the way. Put the seating on the side with nothing that opens into it.
Kitchen Island Storage Ideas
An island is a large volume of cabinetry. What goes inside it should be decided before the doors and drawer fronts are chosen, not after.
| Storage solution | What it solves | Best suited to |
|---|---|---|
| Deep drawers | Replaces reaching into dark base cabinets; contents come to you | Almost everyone - the highest-value island storage upgrade |
| Pull-out waste and recycling | Removes the bin from the floor and hides it | Every household; particularly open-concept kitchens |
| Tray and baking sheet dividers | Stops sheets and boards from stacking into an unusable pile | Bakers and anyone with more than three trays |
| Pot and pan drawers with pegs | Keeps heavy cookware accessible and stops nesting damage | Regular cooks |
| Spice storage | Puts seasonings at the prep surface rather than across the room | Cooks who season while working |
| Cookbook shelving on the end | Uses the exposed island end productively | Homes with a real cookbook collection |
| Appliance garage or lift | Keeps the mixer or blender off the counter but still reachable | Bakers; kitchens where counter clutter is the complaint |
| Utensil and cutlery inserts | Ends the drawer everyone dreads opening | Every household |
| Hidden or toe-kick storage | Recovers space for flat, rarely used items | Small kitchens working hard for capacity |
Kitchen Island Countertop Ideas
The island countertop takes more visual attention and more daily abuse than any other surface in the kitchen. Here is how the common options compare in general terms.
| Material | Appearance | Maintenance | Durability | Best for |
|---|---|---|---|---|
| Quartz (engineered) | Consistent, wide color range, veining from subtle to dramatic | Non-porous; generally no sealing required | Performance varies by product - check manufacturer guidance, particularly on heat | Homeowners wanting predictable appearance and low routine upkeep |
| Granite | Natural variation; every slab is unique | Typically requires periodic sealing per supplier guidance | Long-established natural stone; specifics vary by slab | Homeowners who want genuine natural stone with individuality |
| Marble and other natural stone | Distinctive veining; considerable visual impact | Requires the most attentive care; more reactive to acids and staining | Varies significantly by stone type | Homeowners who accept patina as part of the material |
| Porcelain / sintered surfaces | Large-format, increasingly convincing stone-look options | Non-porous; straightforward routine cleaning | Fabrication and edge detailing require specific expertise | Waterfall edges, large slabs, and thin-profile modern looks |
| Butcher block / wood | Warm and tactile; softens an all-stone kitchen | Requires regular oiling and moisture care | Marks and patinas with use; not suited to every setting | Prep zones and secondary surfaces on a two-material island |
Heat, stain, and scratch performance vary meaningfully between products within the same material category, and manufacturer care instructions differ. Before choosing, ask for the specific product’s documentation and warranty terms - setting a hot pan down on the wrong surface is a genuinely expensive way to learn that a category-level claim did not apply to your slab.
Kitchen Island Color and Cabinet Ideas
The island can be the room’s focal point without becoming a separate project sitting in the middle of your kitchen. The options:
- Contrasting island cabinets - the most popular current approach. A darker or warmer island anchors a lighter kitchen.
- Matching island and perimeter - quieter and more architectural. Good when the countertop or backsplash is already doing the visual work.
- Natural wood island - white oak and walnut bring warmth into kitchens that would otherwise read cold. In Florida, confirm the finish suits a humid environment.
- Painted island - the most flexible and the easiest to change later.
- Two-tone kitchens more broadly - the island is only one way to do this; upper and lower cabinets in different finishes achieve something similar.
- Light versus dark - a dark island grounds an open room; a light island keeps a smaller kitchen feeling larger. Neither is inherently better.
The thing that keeps a contrasting island connected to the kitchen rather than stranded in it is a shared element: the same countertop material, the same hardware finish, the same door profile, or a color that clearly relates to something else in the room. Change one variable, not all of them.
Kitchen Island Lighting Ideas
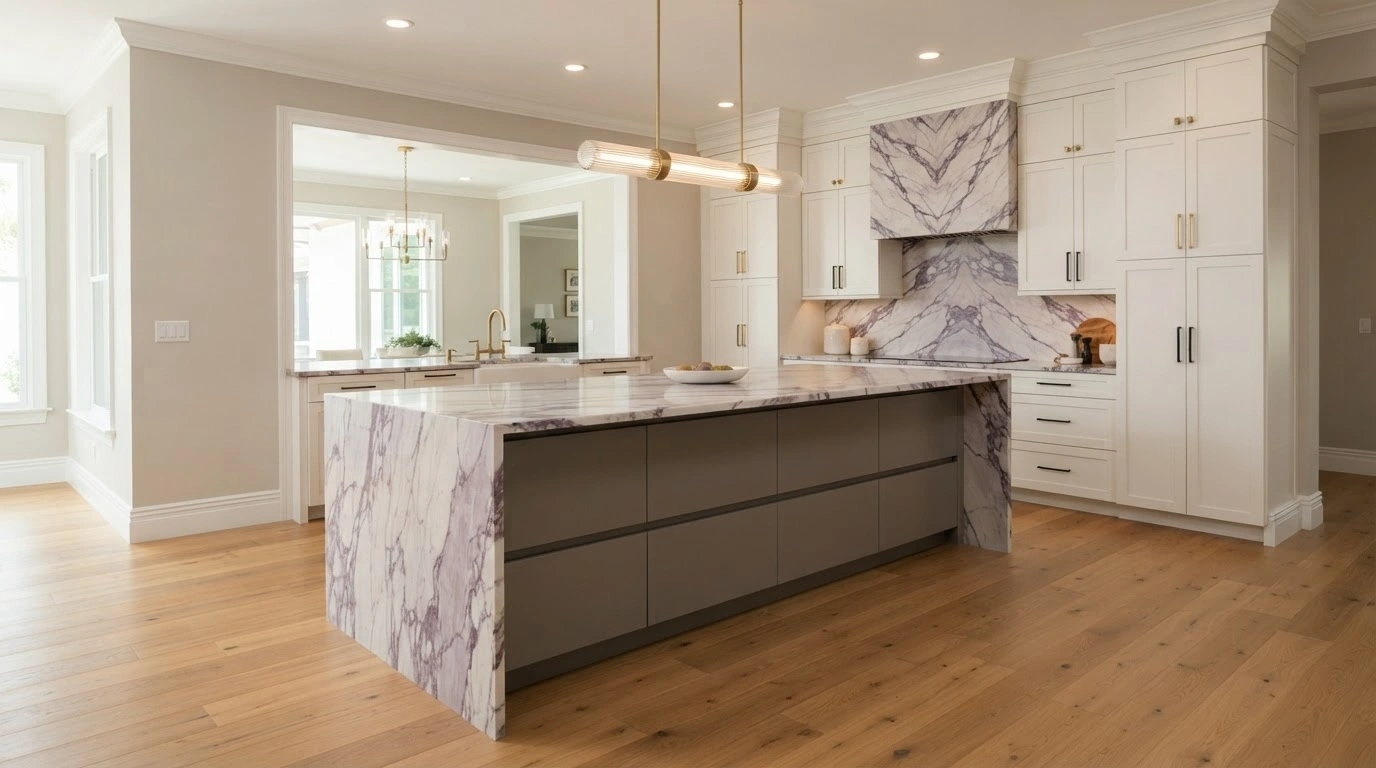
Lighting is the detail most often left until too late, and it is the one that most affects how the finished island looks and functions.
- Pendant lights - the standard choice. Typically two or three over a standard island, spaced evenly and hung high enough not to block sightlines across the room.
- Linear fixtures - a single elongated fixture suits long islands and modern kitchens, and avoids the visual repetition of multiple pendants.
- Recessed lighting - essential for even task light on the working surface; pendants alone rarely light a prep zone adequately.
- Statement fixtures - when the island is the focal point, the fixture above it can carry real design weight.
- Layered lighting - the actual answer. Recessed for task, pendants for definition, dimmers so the same room works for cooking and for dinner.
Balance four things: task lighting on the working surface, ambient lighting for the room, ceiling height (which governs hanging height and fixture scale), and island size (which governs how many fixtures and how far apart). Before finalizing anything, confirm the electrical rough-in locations - moving a pendant box after the ceiling is closed means patching and repainting.
Kitchen Island Layout Mistakes to Avoid
These are the recurring ones. Most are decided at design stage and expensive to reverse afterwards.
- Making the island too large. The most common mistake by a wide margin. Homeowners size to the maximum the room will physically hold rather than what leaves the kitchen comfortable.
- Blocking the main traffic route. Look at how people actually move between the range, sink, refrigerator, and the door to the rest of the house before placing anything.
- Insufficient uninterrupted workspace. Once a sink, a cooktop, and a seating overhang are all on the island, the prep surface can quietly disappear.
- Poor appliance placement. An island dishwasher opening into the seating zone, or a cooktop with nowhere to set a hot pan down.
- Not planning seating clearance. Stools that do not tuck under, or seats too close together to get in and out of.
- Ignoring door and drawer swings. Island drawers and adjacent appliance doors colliding is a design-stage problem that becomes a permanent daily annoyance.
- Leaving electrical until late. Outlets, charging points, and appliance circuits belong in the plan from the beginning.
- Choosing appearance over function. A beautiful island you have to edge around is a worse kitchen than a plain one you can work in.
- Forgetting waste and recycling. If it is not planned into the island, the bin ends up on the floor beside it.
- Poor lighting placement. Pendants centered on the room rather than on the island - obvious once installed, invisible on a plan.
How to Choose the Right Kitchen Island for Your Tampa Bay Home
A workable order of operations. Most island regrets trace back to doing step six before step three.
Not just the room - the clear floor area once appliances, doors, and walkways are accounted for.
Where the sink, range, and refrigerator sit determines what the island can reasonably be.
Prep, dining, entertaining, homework, storage - rank them honestly rather than claiming all six equally.
How many people, how often, and on which side.
Inventory what will live inside before the cabinet drawings are finalized.
With samples viewed in your own kitchen light, and product documentation reviewed.
Fixture positions, outlets, charging points, and any appliance circuits.
Walk the plan. Open every door and drawer on paper.
It should relate to the perimeter through a shared material, finish, or detail.
Cabinet orders are the point of no return in most kitchen projects.
Tampa Bay Kitchen Remodeling Considerations
Some of what shapes island design here genuinely differs from what you would read in a national design guide.
Open-concept layouts are the norm
A large share of Florida housing stock is open-plan, which means the island is visible from the living space essentially all the time. That raises the stakes on both appearance and clutter management, and it is why planned storage matters more here than in a kitchen behind a wall.
Entertaining runs year-round
The kitchen-to-lanai flow is a real design consideration. Islands here often function as a staging point between indoor cooking and outdoor eating, which affects where you put seating, beverage storage, and serving surface.
Natural light is abundant and strong
Florida light changes how finishes read. Colors that look soft in a showroom can appear washed out; high-gloss surfaces can throw glare. Always evaluate samples in the actual room, at more than one time of day.
Humidity is a material consideration
Cabinet construction and wood finishes should be specified with a humid climate in mind. Manufacturer guidance on suitable environments and warranty conditions is worth reading rather than assuming - this is a durability question, not a preference one.
Existing homes come with existing constraints
In an existing Tampa Bay kitchen, adding an island frequently means working around what is already there: slab foundations that complicate under-floor plumbing, original electrical that needs updating when circuits are added, and layouts from an era when islands were not standard. None of these are obstacles exactly, but they are scope items that belong in the conversation early rather than being discovered mid-project.
We work with homeowners across the Tampa Bay area - South Tampa, Carrollwood, Westchase, Wesley Chapel, Brandon, Riverview, Lutz, Odessa, Clearwater, St. Petersburg, and Largo - and the kitchens differ far more than the zip codes suggest.
Kitchen Island Cost Considerations
There is no single price for a kitchen island, because “kitchen island” covers everything from a rolling cart to a custom cabinet run with plumbing, appliances, and a statement slab. What drives the number:
- Size - more cabinetry and more countertop, on both counts
- Cabinetry - stock, semi-custom, or fully custom, which is the largest single swing factor
- Countertop material - frequently a larger share of the total than the cabinets beneath it
- Electrical work - outlets, dedicated circuits, lighting rough-in
- Plumbing - a prep sink changes the scope significantly
- Appliances - dishwasher, microwave drawer, beverage refrigerator, cooktop
- Seating configuration - overhangs may require support, and larger overhangs require more slab
- Storage accessories - inserts, pull-outs, and organizers add up quickly
- Lighting - fixtures plus installation
- Flooring modifications - patching where a wall or old cabinetry was removed
- Structural changes - if a wall is coming out to make room
- Permits and project complexity - which depend on scope and jurisdiction
Published 2026 industry cost data puts prefabricated island installation in the region of $800 to $2,500, custom built-in islands commonly around $3,000 to $6,000, and large custom islands with a sink, appliances, or premium stone at $10,000 and above. Industry averages cluster near $4,800.
Two things worth knowing. Labor typically accounts for roughly a third of a built-in island’s cost, and a waterfall edge adds meaningfully because of the additional slab and miter fabrication involved.
These are national planning ranges drawn from published industry data, not Renov8 Plus pricing and not a quote. Tampa Bay costs vary with material lead times, slab selection, and what the existing kitchen requires - and an island built as part of a full kitchen remodel prices differently from one added on its own. For context on the wider project, see what a kitchen remodel costs in Tampa.
Kitchen Island Ideas: Quick Answer
The best kitchen island ideas balance size, workflow, storage, seating, lighting, and how the household actually lives. Popular approaches include waterfall-edge islands, two-tone island cabinetry, seating-focused designs, storage-first layouts with deep drawers, prep islands with a secondary sink, and compact islands for small kitchens. The right choice depends on your kitchen’s dimensions, traffic flow, and appliance placement.
Planning a Kitchen Island in Tampa Bay?
If you are thinking about adding or replacing an island, the most useful thing you can do before choosing finishes is look honestly at your current layout where people walk, where the work actually happens, and what is missing. Almost every good island decision follows from that.
Remodels by Renov8 Plus is a Tampa design-build remodeling company holding Florida license CGC #1537706. We handle design, cabinetry, countertops, permitting, and trade coordination under one contract, with a dedicated project manager on every project. If it would help to talk through what your kitchen can realistically accommodate island size, seating, storage, and where the electrical and plumbing would need to go we are glad to have that conversation.
Request a free remodeling estimate or call (656) 232-0999.
Remodels by Renov8 Plus - 3750 Gunn Hwy, Unit 306, Tampa, FL 33618 · info@renov8plus.com
Florida License CGC #1537706 · Mon–Fri 9AM–7PM, Sat 10AM–3PM
Related reading: kitchen remodeling in Tampa · luxury kitchen remodeling · kitchen remodeling in South Tampa · how long a kitchen remodel takes.